To make an AI video, plan a few short shots, generate each one in an AI video generator from a text prompt or a still image, then join them in a video editor with music, voice and captions. Most generators create clips of a few seconds at a time, so good AI videos are built shot by shot, not in one go. This tutorial walks through the whole process in six steps.
AI video has improved fast. Models such as Google's Veo 3.1 and OpenAI's Sora 2 now create sound along with the picture, and platforms like Higgsfield add camera controls that used to need a film crew. The steps below work with any of them.
What AI video can and can't do
Good at: short, striking shots; product and launch teasers; social clips; visual ideas for ads and storyboards; animating a still photo or illustration; scenery, motion and atmosphere.
Still hard: long scenes with the same character throughout, readable text on screen, hands doing detailed tasks, exact brand logos and precise lip sync over long speech. Google notes, for example, that natural speech in short segments is still being refined in Veo.
Plan around these limits and your results will look far more professional. For inspiration, see real examples in our product launch video gallery.
Step 1: Plan your video as a list of shots
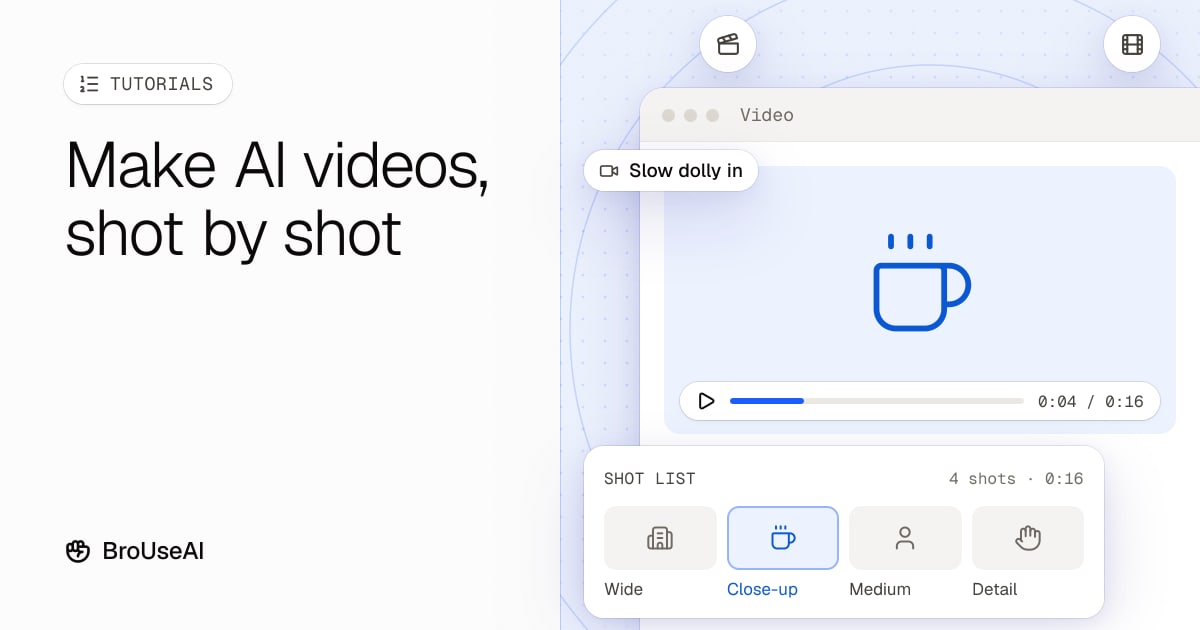
Write a simple shot list before you open any tool. For a 20-second product teaser, that might be:
- Wide shot: a quiet city street at sunrise (4 seconds)
- Close-up: the product on a café table, steam rising from a cup (4 seconds)
- Medium shot: a person picks it up and smiles (4 seconds)
- Detail: hands using the product (4 seconds)
- End card with logo and tagline (made in an editor, not the AI)
Decide the aspect ratio now: 9:16 for TikTok, Reels and Shorts, 16:9 for YouTube and websites, 1:1 for some feeds. Changing it later means generating again.
Step 2: Choose an AI video generator
| Tool | Good for | Notes |
|---|---|---|
| Google Veo | Realistic clips with native sound and dialogue | Veo 3.1 is in the Gemini app, Google Flow and the Gemini API, with 1080p and 4K output and reference images to guide the look |
| Sora 2 | Realistic scenes with synced audio | OpenAI's video model, available in the Sora app |
| Higgsfield | Cinematic camera moves and consistent characters | One studio with many video and image models, plus camera controls and presets |
| Kling | Lifelike motion from text or images | Popular for image-to-video |
| Runway | Creative control and editing tools | Generation plus editing tools in one place |
| Luma, Pika, Hailuo | Quick, stylised or social clips | Often cheaper per clip |
Most tools use credits: each clip costs a number of credits based on its length, resolution and model. Try the free credits or a trial first, and compare the cost of a typical clip, not just the monthly price. Browse more in the AI video generator category.
Step 3: Write a clear video prompt
A text-to-video prompt works best when it reads like a director's note. Cover these parts, in roughly this order:
- Subject: who or what is in the shot
- Action: what happens, in one simple movement
- Setting: where and when
- Camera: shot type and movement (close-up, wide, slow dolly in, drone shot, handheld)
- Light and mood: golden hour, soft studio light, neon at night
- Style: realistic, 35mm film, animation, claymation
- Sound: if the model makes audio, describe it (rain on a window, a crowd murmuring, a line of dialogue in quotes)
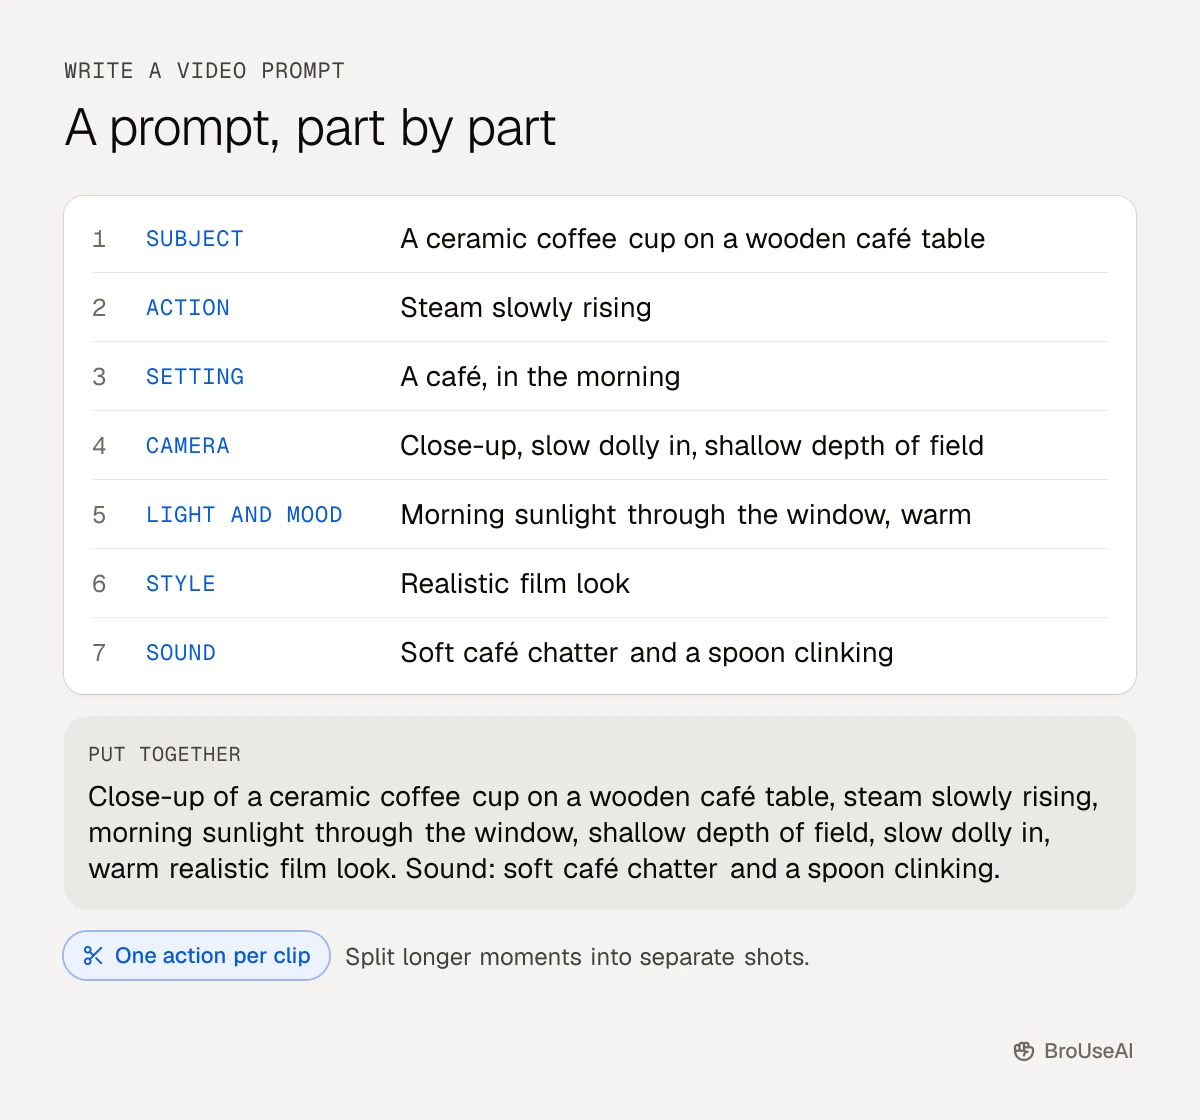
Example prompt:
Close-up of a ceramic coffee cup on a wooden café table, steam slowly rising, morning sunlight through the window, shallow depth of field, slow dolly in, warm realistic film look. Sound: soft café chatter and a spoon clinking.
Keep one action per clip. "A woman walks in, sits down, opens a laptop and laughs" is four actions, and the model will usually muddle them. Split it into shots instead.
Some tools also take a negative prompt, a list of things to avoid, such as "text, watermark, extra fingers, blurry". For more prompt basics, see our tutorial on writing better AI prompts.
Step 4: Start from an image for more control
Image-to-video gives you far more control than text alone. Create or choose a still image first (in an image generator, or a real photo you have the rights to), then ask the video model to animate it.
- Same character in every shot: generate one portrait, then use it as the starting frame or reference image for each clip.
- First and last frame: some tools, including Veo 3.1, let you give a start and an end image and fill in the motion between them, which is great for transitions.
- Brand accuracy: start from a real product photo so the shape and colours stay right.
Step 5: Generate, compare and refine
- Generate two to four versions of each shot. AI video is a numbers game, and the best take is often the third.
- Change one thing at a time. If the motion is wrong, adjust the action or camera words, not the whole prompt.
- Extend good clips instead of starting over. Many tools can continue a clip from its last frame.
- Upscale at the end. Generate drafts at a lower resolution to save credits, then upscale or regenerate the winners in high quality.
Step 6: Edit, add sound and export
Put the shots together in a video editor such as CapCut or Descript:
- Trim each clip to its best second or two. Short cuts hide small glitches.
- Add music and voice. Use the model's own audio, a licensed music track or an AI voiceover from a text-to-speech tool.
- Add captions and text in the editor, not in the AI prompt, so the spelling is right.
- Add your end card with logo, tagline and link.
- Export in the platform's format: MP4, the aspect ratio you planned and 1080p or higher.
Use AI video responsibly
- Label realistic AI content. YouTube asks creators to disclose realistic altered or synthetic content, and other platforms have similar labels. In the EU, the AI Act requires deepfakes to be disclosed; see our explainer on the EU AI Act's new deadlines.
- Never use a real person's face or voice without permission. Making someone appear to say or do things they didn't is a deepfake, and it can be illegal.
- Keep the watermark. Many generators add visible or invisible marks, such as Google's SynthID, so people can tell the video is AI-made. Read about AI watermarking.
- Check the terms for commercial use. Some plans restrict commercial use, and copyright in AI output is still unsettled in many countries. See AI and copyright.
The bottom line
Great AI videos are planned, not prompted in one go. Write a shot list, generate each shot with a clear director-style prompt (or from a still image for consistency), make a few versions, then cut the best moments together with sound and captions in an editor. Start with a short 15 to 30 second piece, learn how your chosen tool behaves, and build up from there.
Frequently asked questions
Can I make an AI video for free?
Yes, within limits. Many AI video generators offer free credits or a trial, and Google's Gemini app includes some video generation on certain plans. Free clips are usually shorter, lower resolution or watermarked.
How long can an AI video be?
Most generators create clips of about 5 to 10 seconds at a time, and some can extend a clip further. Longer videos are made by joining many clips in an editor.
Which AI video generator is best?
It depends on the job. Google Veo and Sora 2 are strong for realistic clips with sound, Higgsfield for cinematic camera control and consistent characters, and Kling for lifelike image-to-video. Test two or three on the same shot and compare.
Can I use AI videos for my business?
Usually yes, on a paid plan whose terms allow commercial use. Avoid real people's likeness without consent, check that music is licensed and label realistic AI content where platforms or laws require it.
Sources
- Google DeepMind, Veo
- OpenAI, Sora 2 (September 2025)
- Higgsfield, Higgsfield AI
- Kling AI, Kling
- YouTube Help, Disclosing use of altered or synthetic content